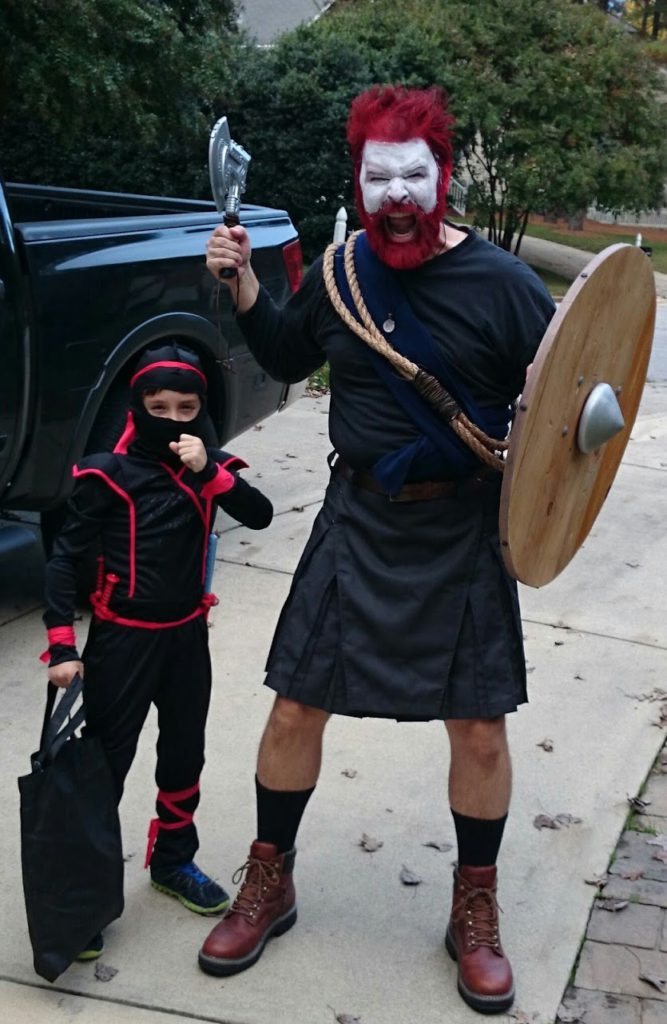
A couple of years ago, my youngest son came to me and surprised me with a question. It was innocent enough.
Dad, what are you going to be tonight for Halloween? I’m going to be a ninja and I want you to dress up too.
Key on the word tonight. As in less than 10 hours from when he asked me this. Hmmm…ok not a problem that I couldn’t fix with a little bit of woodworking.
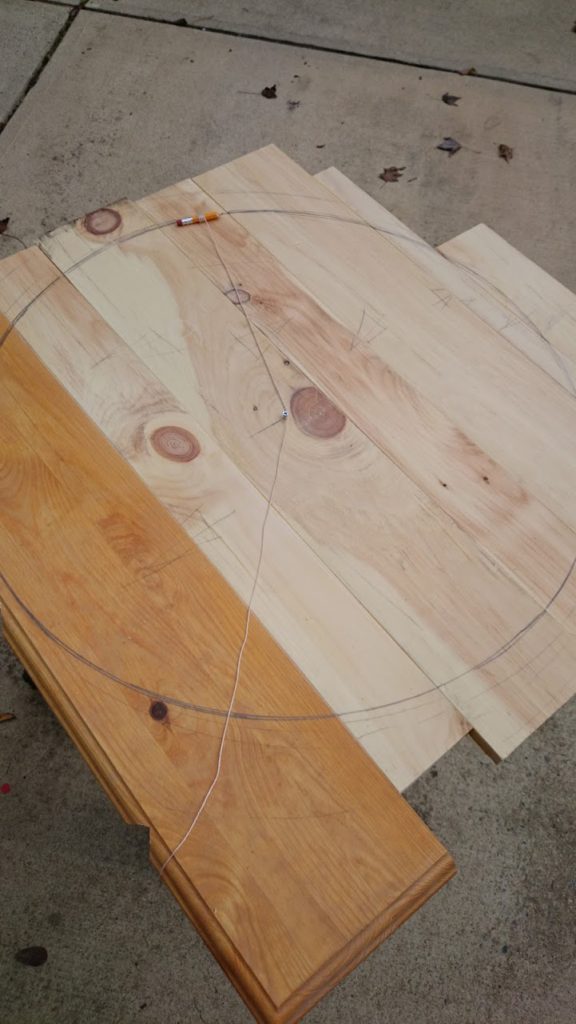
Quickly surveying the available stock in the shop (aka garage/storage for everything that didn’t fit in the house) I came up with the clever idea that I could build a big wooden shield and maybe find an ax or similar accouterments. Turns out I didn’t have enough scrap material lying around in the garage to cut one solid block, so I joined a couple of old leftover pieces from a shelving unit that I had recently completed for the boys. A handy use for my new biscuit joiner as well!
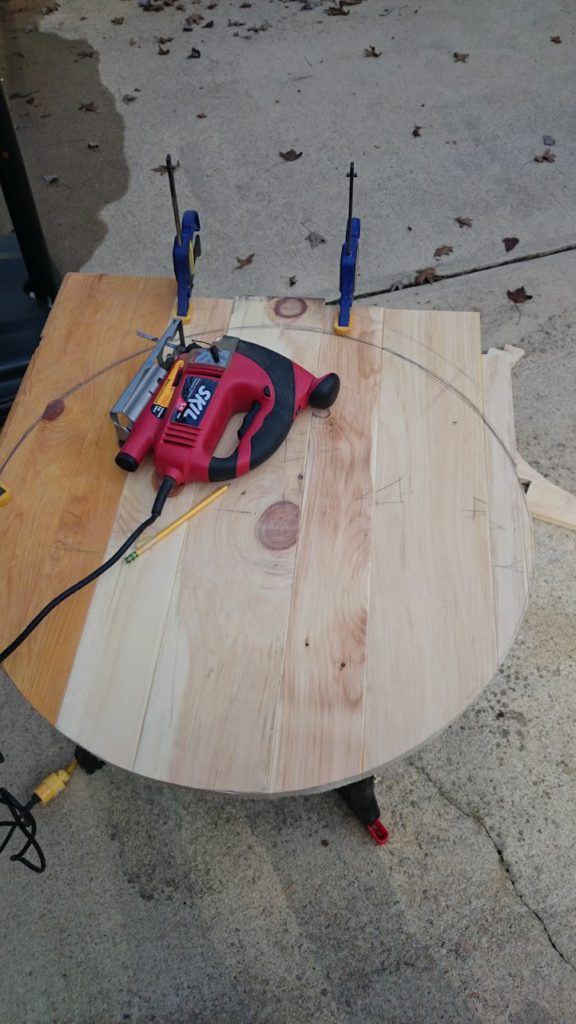
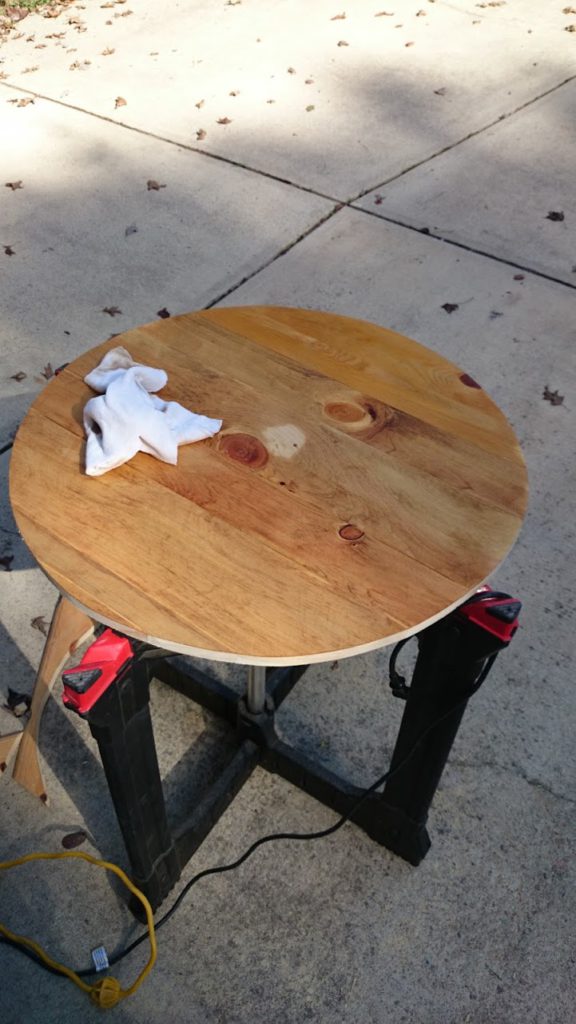
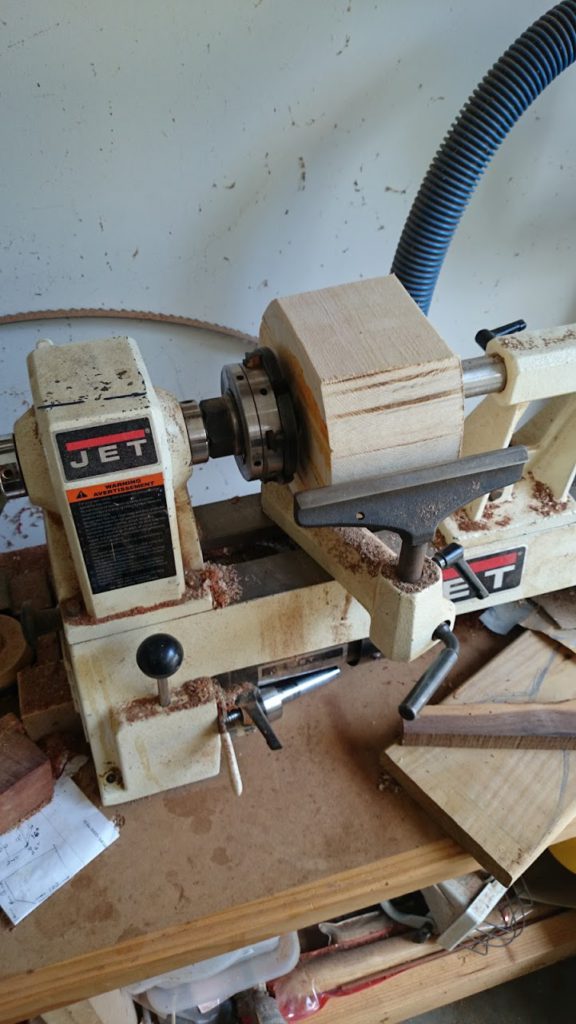
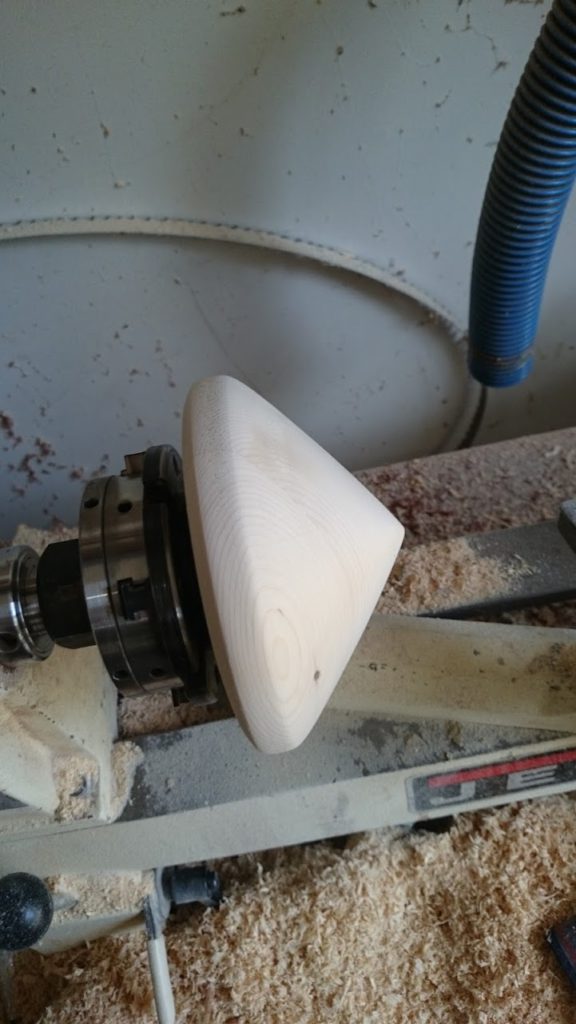
At this point, the shield was taking shape but I needed some additional decoration. With more plain blocks of pine available from the same bookshelf I had just completed, I was able to turn a decorative “spike” to the front of the shield.
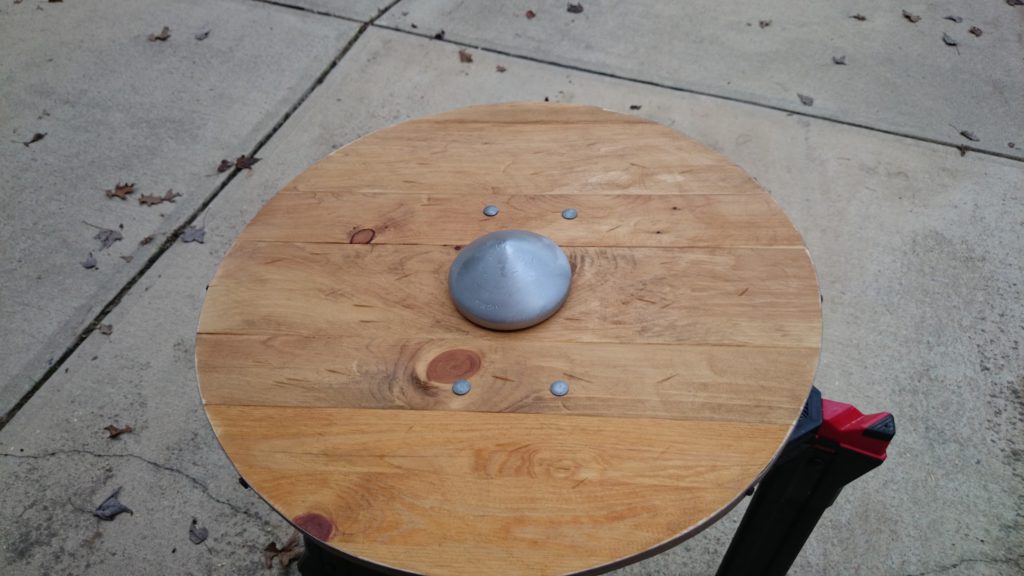
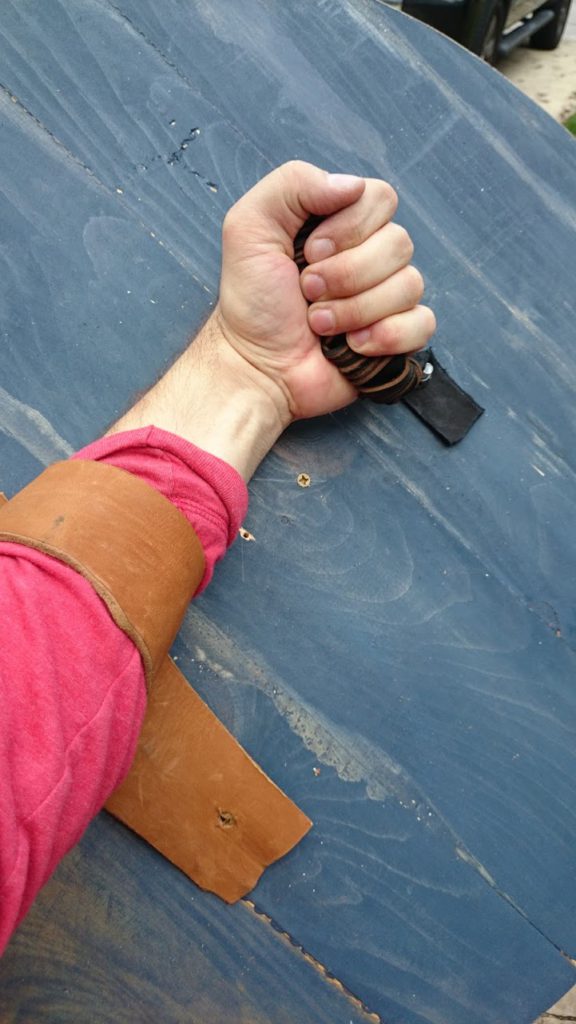
It turns out the bolts matched the silver spike on the front, and served a dual purpose for decoration and a convenient place to bind the lashings for grabbing and holding the now not-so-light shield.
Finally, with shield in hand, all that was left to do was decorate the crazy bearded face to match the mighty shield, and our costume party was complete!